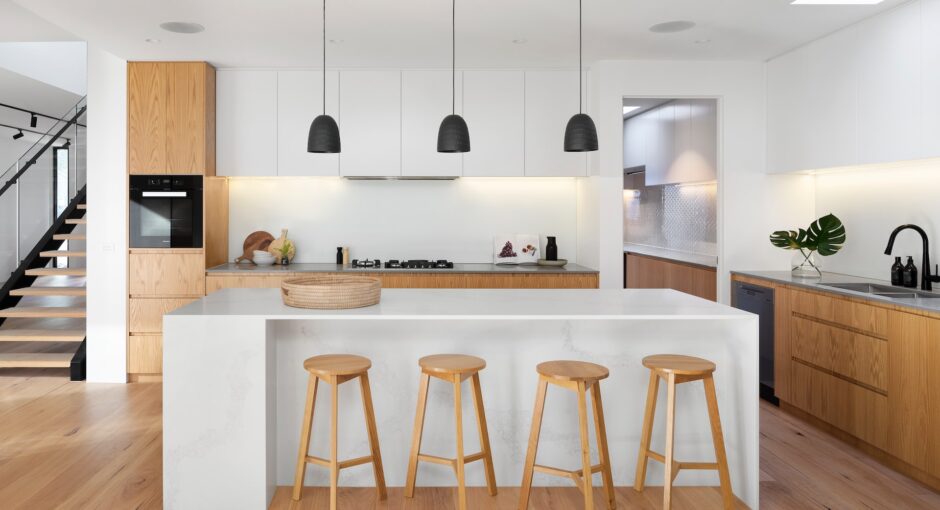
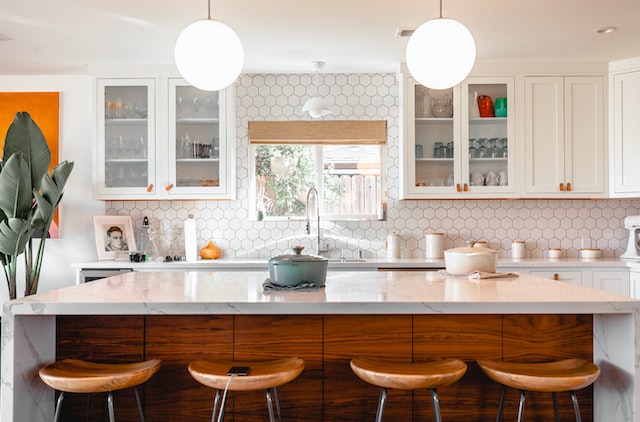
Adding an island is a great way to maximize storage and counter space in your kitchen. There are various ways you can create this island, but one of the simplest and most budget-friendly solutions is using base cabinets.
Selecting the Appropriate Cabinets for Your Kitchen
Base cabinets make a great option when creating a kitchen island, as they come in widths ranging from 12 to 48 inches and can be placed back-to-back without worrying about its length. Plus, most are 24 inches deep so they will easily fit under countertops.
Once you’ve selected the ideal size cabinets, it’s time to plan the layout of your kitchen island. Fortunately, this can be done quickly and efficiently.
Begin by marking the floor where your cabinets will go. Doing this helps guarantee that they are placed along the original traced lines at each corner of the room.
Next, use painter’s tape to draw an outline of your kitchen island on the floor. This will give you an approximate size and ensure it doesn’t overlap any existing cabinets. If you plan to have breakfast bars, add another line in the center of your island footprint so you know where the countertop projection will be.
Once you’ve chosen the shape and length of your kitchen island, cut two floor cleats from 2 x 4 lumber using either a circular saw or miter saw. Attach these cleats to the flooring by screwing them securely in place.
Cleats should be evenly spaced around the island, so measure and cut them to exactly the same distance from each side wall, toe-kick, and center panel. Drill pilot holes in each cleat before attaching it to the floor with wood screws that will penetrate through the subfloor.
If you prefer, instead of floor cleats you could use spacers to secure your base cabinets. This allows the cabinets to be mounted without overlapping other cabinets and they may also serve to support the countertop.
Trimming and Finishing Your Island
You should trim the edges of your kitchen island if you plan to add any hardware, such as knobs or pulls, or other features. For the front of the island, use a strip of baseboard molding that fits between the top and bottom sides of cabinets; this will fill in any gaps and help keep the base looking polished.
Once the baseboards are in place, you can finish by sanding down the surface to smooth away any rough spots and give your kitchen island a polished appearance. After sanding, apply stain or paint for an even look.
When designing your kitchen island, creativity is key. Whether you prefer an open, free-flowing look or something more formal, the possibilities are virtually endless. When deciding on a design for your island, ask yourself how much seating will be necessary, what type of storage you require and how you plan to entertain guests; these questions will help determine the ideal layout that meets all of your requirements and fits perfectly into the space available.